How to Access Seat Management

- In Sales Navigator, hover over Admin at the top of the page and select Seat Management from the dropdown menu.
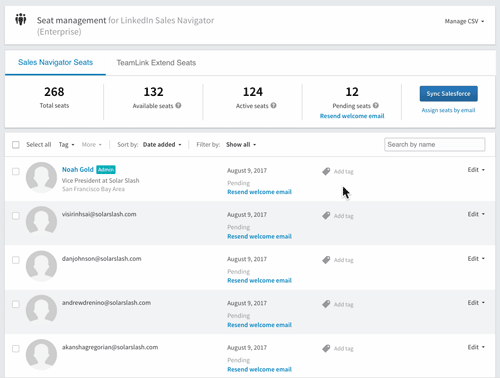
To View One Specific User or a Set of Users

- In the Seat Management page, type the user’s name in Search by name.
- Click on their profile to add to your search list.
- (Optional) To add more names to your list, continue to search and add profiles under Search by name.
- (Optional) To remove select users from your list, click on the filter with their email.
- (Optional) To remove all users from your list, click on Clear all.
To Remove Seats from Users

- In the Seat Management page, select the users you would like to remove (see To View One Specific User or a Set of Users). After searching the user you would like to remove, click on the lefthand checkbox in their row. To remove all users from a list, click Select all.
- Click on the More dropdown menu, then click on Remove.
To Remove Admin Access from Users
- In the Seat Management page, select the users you would like to remove (see To View One Specific User or a Set of Users). After searching the user you would like to remove admin access from, click on the righthand dropdown menu in their row.
- From the Select type of account list, click on the type of account you would like to allocate to them.